
How to Make a Simple Embroidered Tulip with the Ribbon Stitch
Ribbon embroidery is beautiful, yet very simple to get started making your own works of art. This article is a tutorial of how to get started in satin ribbon embroidery by making a tulip using only a single kind of stitch: the ribbon stitch. Plus, bonus videos on how to watercolor white ribbon!
What is Silk Ribbon Embroidery?
Silk Ribbon embroidery is exactly what it sounds like: embroidering with silk ribbon. The ribbon is pulled through the fabric with a needle, and depending on how and where you pull it back through, it can create many beautiful effects. The main things I embroider with ribbon are flowers!
What is the Ribbon Stitch?

The ribbon stitch is the most basic stitch in ribbon embroidery. It is the first stitch that you should learn if you are already familiar with embroidery with thread. While many embroidery stitches can easily be translated into stitching with ribbon, this stitch is unique to ribbon embroidery.
The concept is to embroider the ribbon into itself, which causes the ribbon to create folds and curves. Follow along below as I walk you through it!
Materials

Basic Flower
- Fabric (I used dark colored cotton)
- Embroidery hoop (I like square hoops because they hold the fabric tighter)
- Satin ribbon of any color for the tulip flower (i used 5/8 inch width)
- Satin green ribbon for the leaves (I used 5/8 inch width)
- Green thread for the stem
- Scissors
- Yarn needle
- Embroidery needle
- (optional) Pliers for pulling the ribbon through the fabric
Watercolored Flower Additional Requirements

- Gouache (or watercolor)
- Watercolor Paintbrush
- Water cup
- Plastic tray(s)
- Paper towel
Step by Step
Preparation
- Place fabric in embroidery hoop then cut to size. Pull as tight as you can.
Tip:
In between each stitch (or really whenever it gets loose), pull the fabric tight around the hoop. This prevents any bumps in the fabric when you go to frame.
- Cut some of the flower-colored ribbon and thread it into the yarn needle.


Flower
- Put the needle through the fabric from the back and pull through.

- Flatten the ribbon by pulling it wide at the base

- With the ribbon flat, push the needle through the left side of the ribbon and the fabric. Slowly pull most of the way through, stopping when there is still a little able to pull through. This the ribbon stitch.


- Pull the ribbon through the same initial hole. See the picture below of the back of the fabric. Tip: Avoid pulling through any ribbon on the back, and hold the tail while pulling through the second petal so the first petal does not get messed up. Pull through carefully.

- Flatten the newly pulled through ribbon, and repeat step 3 for the ribbon stitch but for the opposite side. This time put the ribbon through the right side of the ribbon


- Pull the ribbon through the initial hole again, but this time go up the middle.


- This time, push the needle through the center of the ribbon.


- Adjust the ribbon to be more flat from the front of the work. Just pull gently and tweak until it looks how you like.

Stem
- Take the green thread and thread the embroidery needle. We are going to do 2 straight stitches for the stem.

- Underneath the center of the tulip flower, pull the thread through.

- Push the needle through the base of the flower.


- Repeat step 3 in order to make the stem wider.

Leaves
- Thread the yarn needle with the green ribbon, then pull through from the back directly underneath the stem. Flatten at the base.


- On the right side of the ribbon, pull the needle through the ribbon and the fabric. Don’t pull through all the way, and stop when the leaf looks like it’s folding on itself.


- Repeat with the other side.


Watercoloring
Here, I’ve repeated the steps to make the tulip, but this time I used white ribbon. Choose 2 colors for the tulip, one edge color and one inner color.
- Use water to dilute the edge color. I usually do one brush-full of pigment, then two or three brushfulls of water. Below is a video of the color density you should expect for following along, but it’s really up to you how pigmented or not you want your flower to be.
- Color the edges of the ribbon. If the color isn’t diffusing into the ribbon, add more water. You don’t need to touch the ribbon very much with your brush; it should diffuse on its own.
- Repeat the same process for the inner color. The colors should blend together. If they don’t, use more water.

The Finished Product
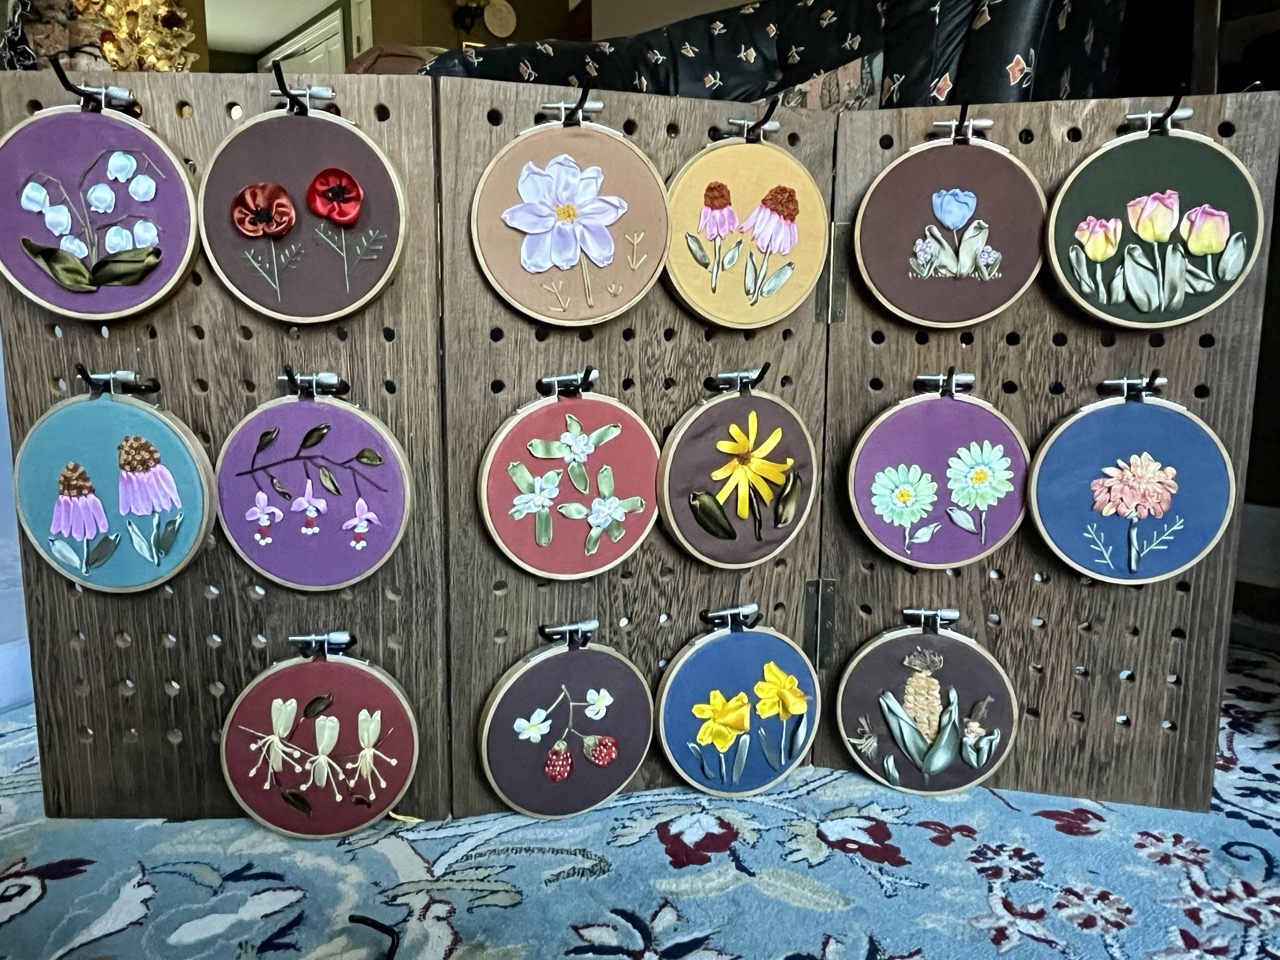
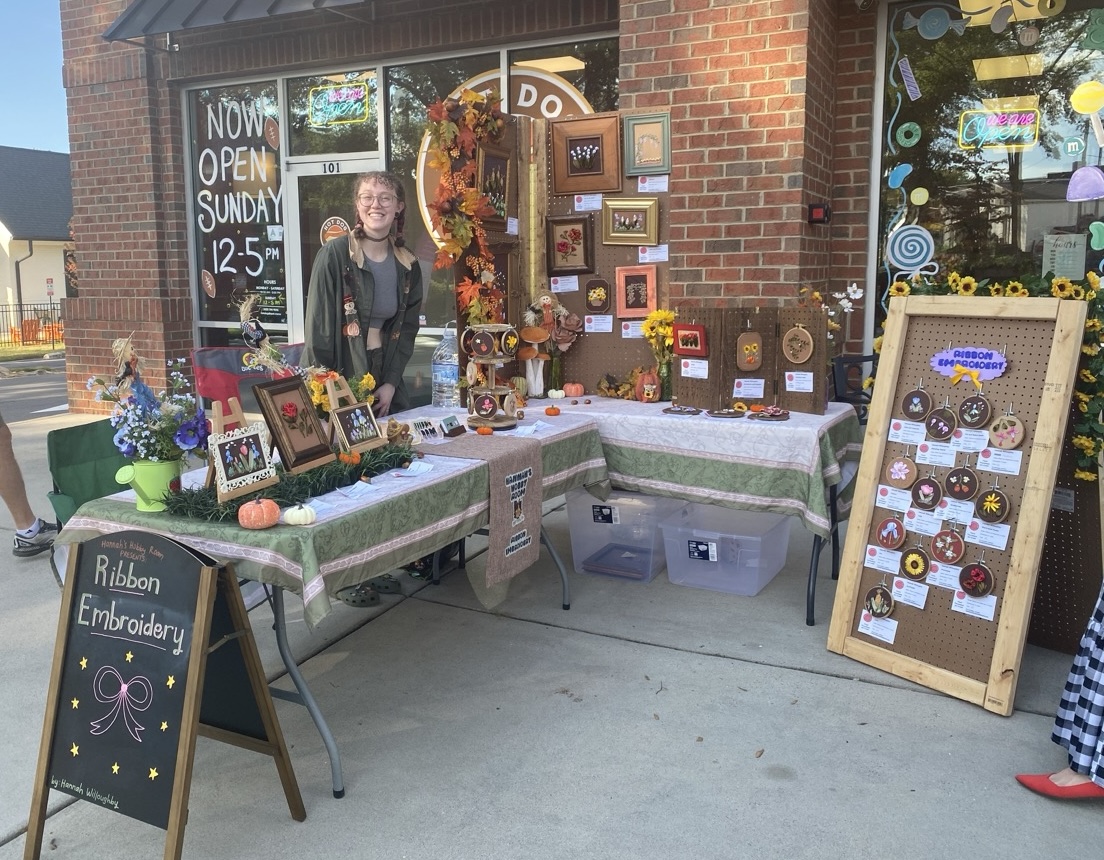
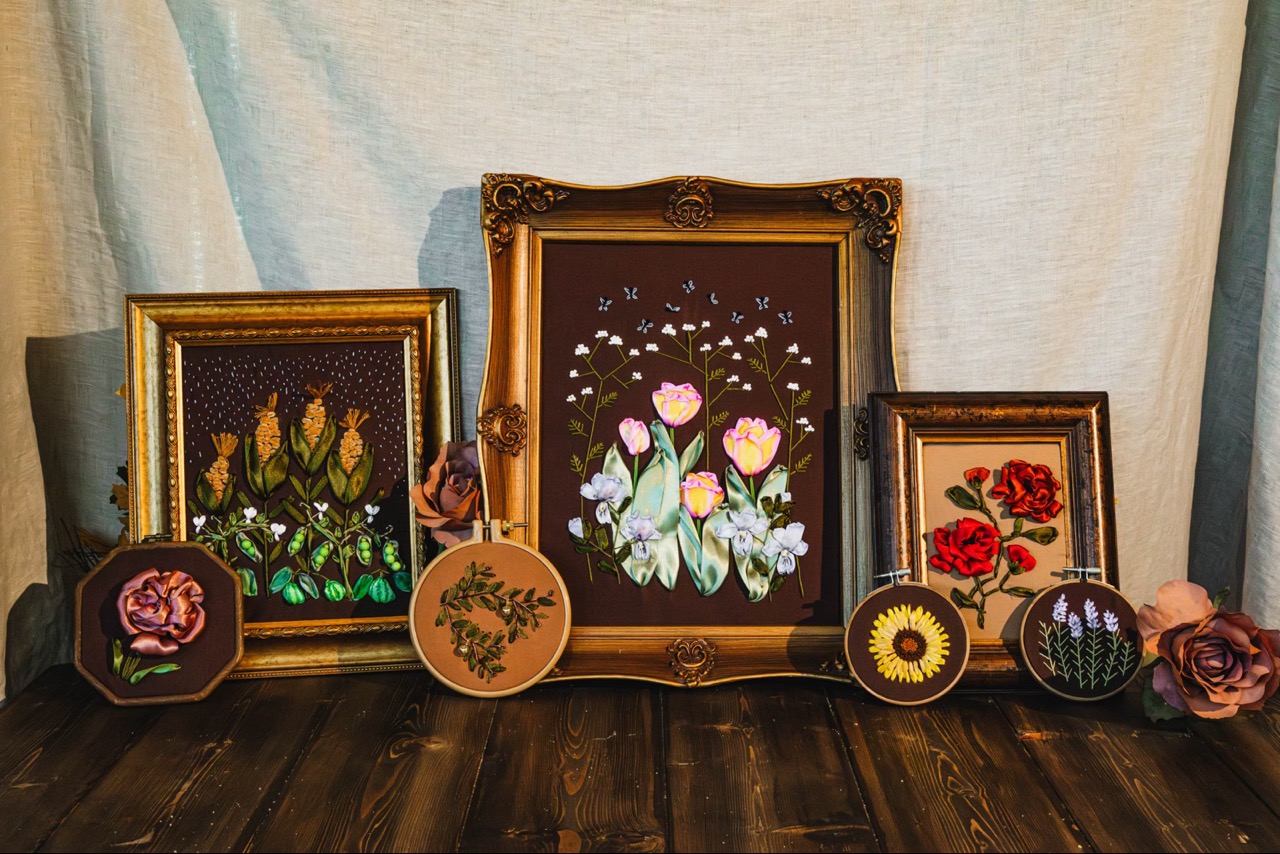
Examples from my Work

Simple tulips with fall colors. Ribbon stitch, straight stitch.

One of my first ribbon embroideries, a cherry blossom stem. Ribbon stitch, straight stitch.

Wisteria and tulips. Ribbon stitch, straight stitch, french knots. The wisteria are watercolored purple.
Conclusion
I hope you enjoyed following this tutorial! If you get the ribbon stitch down pat, you can create many beautiful floral designs. Try experimenting with using different widths of ribbon, or with how long or short the stitch is. If you have any questions or comments, please don’t hesitate to post below. As always, happy crafting 🌸

Comments